|

JavaScripting Workbook 2 Answers
Nice work on the workbooks, all! Here are some answers from a mix of students in class...
Extending the basic Netscape Rollover Approach
We looked at a simple example of using the onmouseover and onmouseout attributes of the Anchor element (the A element) to provide a visual rollover effect.
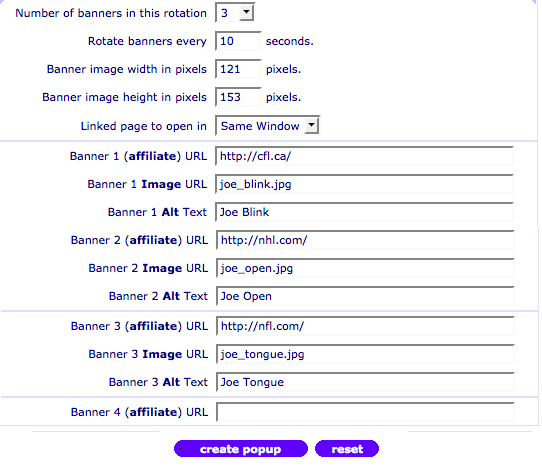
Extending Joe's example to have Joe stick his tongue out when you click anywhere on his face image:
You can try the answer below here.
  <HTML>
  <HEAD>
  <TITLE>Basic JavaScript Rollover by Joe Maller</TITLE>
  <SCRIPT LANGUAGE="JavaScript">
  <!-- hide from non JavaScript Browsers
     Rollimage = new Array();
     Rollimage[0]= new Image(121,153);
     Rollimage[0].src = "joe_open.jpg";
     Rollimage[1] = new Image(121,153);
     Rollimage[1].src = "joe_blink.jpg";
     Rollimage[2] = new Image(121,153);
     Rollimage[2].src = "joe_tongue.jpg";

     function SwapOut(){
        document.Rupert.src = Rollimage[1].src;
        return true;
     }
     function SwapBack(){
        document.Rupert.src = Rollimage[0].src;
        return true;
     }
     function StickOut(){
        document.Rupert.src = Rollimage[2].src;
        return true;
     }

  // - stop hiding -->
  </SCRIPT>
  </HEAD>
  <BODY BGCOLOR="#FFFFFF">
  <P align="center">
  <A HREF="#" onmouseover="SwapOut()" onmouseout="SwapBack()" onclick="StickOut()">
     <IMG SRC="joe_open.jpg" NAME="Rupert" WIDTH=121 HEIGHT=153 BORDER=0>
  </A>
  <P align="center">If you use this, please give Joe credit.</P>
  </BODY>
  </HTML>
To use an DIV element instead of the A element, check out a composite student solution.
Practicing the CSS rollover technique
Add a second rollover image to start the process of creating a menu from CSS rollover components.
Code provided by Dennis Bell's example:
<html xmlns="http://www.w3.org/1999/xhtml">
<head>
<meta http-equiv="Content-Type" content="text/html; charset=UTF-8" />
<title>Untitled Document</title>
<style type="text/css">
  <!--
  #rollover a { display:block; width:50px; background-color: #FFFFFF}
  #rollover a:hover { background-color: #990000}
  #rollover2 a { display:block; width:50px; background-color: #03F}
  #rollover2 a:hover { background-color: #0F9}
  -->
</style>
</head>
<body bgcolor="222222">
<div id="rollover">
  <p>
  <a href="#"><img src="d.gif"
  width="50" height="50" border="0"></a>
  </p>
  </div>
  <div id="rollover2">
  <p>
  <a href="#"><img src="b.gif"
  width="50" height="50" border="0"></a>
  </p>
</div>
</body>
</html>
Altering Autogenerated code
Changing the code so that the description of each menu item appears to the right of the menu instead of as a separate menu table item beneath the menu options.|
OWorld
|
|
|
CEV
|
from following code (available here):
<html>
<head>
<title>Rollover on right</title>
<style type="text/css">
<!--
.menu {font-family:Centaur; font-size:12pt; font-weight:bold; color:#000000}
-->
</style>
<script language="javascript">
<!--
function movein(which,html) {
which.style.background='#006600'
description.innerHTML=html
}
function moveout(which) {
which.style.background='#99FF00'
description.innerHTML=' '
}
-->
</script>
</head>
<body>
<table bgcolor="black" border="1" cellpadding="2" cellspacing="0" width="150"><tr>
<td class="menu" bordercolor="black" id="choice1" style="cursor:hand;background-color:#99FF00" onMouseOver="movein(choice1,'Connecting 3-D Cyberspace')" onMouseOut="moveout(choice1)" onClick="location.href='http://www.oworld.org/'">
<div align="center">OWorld</div>
</td>
<td rowspan="2" bordercolor="black" bgcolor="white" width="200">
<font id="description" face="arial" size="1"></font>
</td>
</tr>
<td class="menu" bordercolor="black" id="choice2" style="cursor:hand;background-color:#99FF00" onMouseOver="movein(choice2,'Center for Environmental Visualization')" onMouseOut="moveout(choice2)" onClick="location.href='http://www.cev.washington.edu/'">
<div align="center">CEV</div>
</td>
</tr>
</table>
which, upon making appropriate changes based on best practices we studied in class, creates this page here.